Choosing the right water storage tank is not simply a matter of buying the largest model that fits. The choice affects water quality, supply reliability, maintenance, and long-term cost. A tank beside a farmhouse may face direct sun, dust, and wide temperature swings. A unit serving a small business may need dependable access during interruptions. The details matter.
The WHO/UNICEF Joint Monitoring Programme reported that 2.2 billion people lacked safely managed drinking water in 2022. That figure gives water storage practical importance, but a tank alone cannot guarantee safe water. Water-policy expert Peter Gleick has said, “Access to water is a human right.” His reminder points beyond capacity: stored water must remain suitable for its intended use. Material, cover, inlet design, cleaning access, and protection from heat all deserve attention.
Start by estimating daily demand and the number of days the tank must cover. Then compare potable and non-potable requirements, available space, local weather, and the water source. Manufacturers’ capacity claims are useful, but real demand can be messier than a neat spreadsheet. A larger tank is not automatically better; poorly matched storage may add cost and complicate upkeep. This guide explains how to assess capacity, materials, installation conditions, and maintenance before choosing. One point is easy to overlook: check how the tank will be inspected and cleaned before it is installed. A sound water storage decision begins with the water’s purpose, not the tank’s appearance.
Choose a tank based on how much water you need and how long a supply interruption might last. The U.S. EPA’s WaterSense guidance says an average American family uses more than 300 gallons at home each day. Treat that as context, not a storage target: irrigation, livestock, and household size can change demand substantially. Measure your actual use, then identify essential needs such as drinking, cooking, and sanitation.
Estimate reserve volume by multiplying essential daily use by the number of days you want covered. Allow for water below the outlet, sediment, and other expected losses. Check refill rates, tank location, temperature exposure, and whether the stored water must remain potable. The USGS report Estimated Use of Water in the United States in 2015 put total U.S. water withdrawals at about 322 billion gallons per day. That national figure offers context, but local supply records and your own usage are more useful for sizing. A bigger tank cannot fix a slow refill source.
Tips: Keep a simple usage log. Inspect the inlet and outlet. Recheck your estimate when seasons or household needs change; the first calculation may miss something.
Start with the water the tank must actually cover, not its advertised capacity. List each use—drinking, cooking, toilets, irrigation—and estimate daily volume and days between refills. USGS Circular 1441 estimates 2015 domestic use at about 82 gallons per person daily. EPA WaterSense reports that a typical American family uses more than 300 gallons at home each day. Treat these as broad benchmarks, not a household forecast; outdoor watering and efficient fixtures can change demand sharply. Be cautious here.
Convert your estimate into usable volume, allowing for reserve and water the outlet cannot draw. Four people using the USGS benchmark would require over 650 gallons for two days, but that represents total domestic use, not necessarily the amount your tank must supply. Check the site plan for the tank’s footprint, base, lid clearance, pipes, and maintenance access. Include the delivery route, too. A tall tank may save floor space but will not fit under a low ceiling or through a narrow gate. Measure twice. Track actual use for a week and revisit your estimate; memory often undercounts, and that assumption is easy to miss.
Assess tank capacity and available space. The chart compares storage capacity with the estimated footprint of a vertical cylindrical tank.
Estimates assume a cylindrical tank with 2 m of usable height; footprint area is calculated as capacity divided by height. Allow additional room for access, plumbing, installation, and clearance. Actual tank dimensions vary by design.
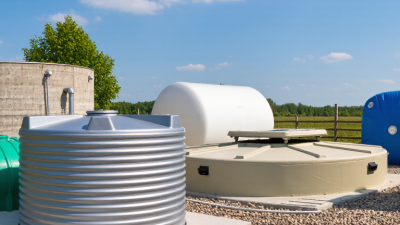
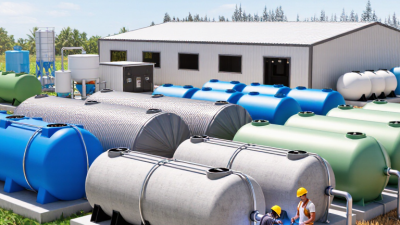
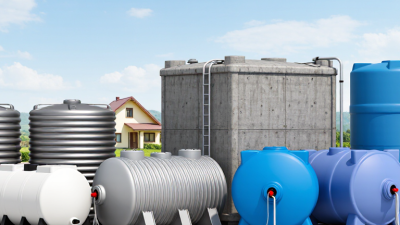
Tank material affects durability, maintenance, and where a tank can be installed. Polyethylene tanks are relatively light and resist rust, making them practical for many above-ground uses. Check their UV protection and temperature limits, especially in exposed locations. Steel tanks can handle substantial capacities, but coatings and linings matter because scratches or corrosion may shorten their service life. Concrete tanks are sturdy and can suit buried installations, though they need sound foundations and careful crack control. No material is perfect.
Construction details deserve equal attention. Look for sturdy joints, accessible fittings, and a secure cover that keeps out debris. Inspect the base, seams, and internal lining, not just the tank walls. A narrow inspection hatch may seem minor until cleaning becomes difficult.
That matters.
Match the tank to its water source, site, and intended use. For drinking water, confirm that the materials and lining are suitable for potable water, and check applicable local requirements. Measure delivery access and installation space before choosing a large tank; a tank that fits on paper may not fit through a gate. I would still revisit the choice after considering maintenance access.
It is easy to overlook.
How to Choose the Right Water Storage Tank?
Check Inlet, Outlet, and Safety Features
A tank’s connections matter as much as its capacity. Place the inlet to limit splashing and keep it clear of the outlet. Position the outlet above the tank floor, where settled grit is less likely to enter the pipe. A separate low-point drain makes cleaning easier. For drinking water, check that the tank and fittings are rated for potable-water use. A perfect tank on paper can still be difficult to inspect.
Safety details are easy to overlook. Choose a covered access hatch, a screened vent and overflow, and an inlet arrangement that helps prevent backflow. The CDC’s Emergency Water Supply guidance recommends at least one gallon per person per day for three days. That gives a four-person household a minimum planning figure of 12 gallons for three days; consider longer storage needs, too. Check connections periodically for leaks, loose screens, and signs of sediment. Small faults matter.
Tips: Before buying, sketch the pipe route and mark where you can reach the hatch and drain. Ask how the tank should be cleaned, and whether its outlet can be fully isolated during maintenance. The awkward question is often the useful one: can you actually inspect every connection?
| Tank Use | Inlet Considerations | Outlet Considerations | Safety Features to Check | Selection Checks |
|---|---|---|---|---|
| Potable water storage | Choose an inlet sized for the incoming supply and expected fill rate. Include a screened, downward-facing air gap or other approved backflow protection where required. | Position the outlet above settled sediment where practical. Use fittings and pipe materials approved for drinking water. | Secure, gasketed access cover; screened vent and overflow; opaque or light-blocking construction to limit algae growth; materials suitable for potable water. | Confirm the tank’s stated drinking-water suitability, usable capacity, cleaning access, and local plumbing requirements. |
| Rainwater harvesting | Connect roof runoff through a leaf screen and suitable first-flush diverter. Fit a screened inlet to help keep insects and debris out. | Place the draw-off above the tank floor or use a floating intake to reduce sediment pickup. Provide a separate, adequately sized overflow. | Insect-proof screens on vents and overflow; a tight-fitting lid; a stable, level base; overflow directed away from buildings and foundations. | Keep rainwater plumbing separate from potable-water plumbing unless an approved treatment and cross-connection arrangement is installed. |
| Irrigation or non-potable use | Match the inlet connection to the supply pipe and fill rate. Use a float valve or level control if the tank is filled automatically. | Size the outlet for the pump or irrigation demand. Add an accessible isolation valve and, where needed, a removable filter. | Overflow protection; secure cover; UV-resistant material for outdoor exposure; pump protection against running dry. | Check peak flow demand, pump requirements, sediment tolerance, and whether the tank needs a drain for cleaning. |
| Fire-water reserve | Size and locate the fill connection to meet the planned replenishment rate. Keep it accessible for inspection and maintenance. | Verify outlet size, position, and connection type against the fire-protection system design and required draw rate. | Protected connections; reliable level indication or monitoring; overflow and drain arrangements; secure access that remains available to authorized responders. | Capacity, refill time, foundation design, and connections should be confirmed by the fire-protection designer and applicable local codes. |
| Indoor or building service storage | Include a shutoff valve and, for automatic filling, a properly selected float valve or level-control system. | Provide an accessible outlet isolation valve. Consider a low-level outlet only if sediment and maintenance needs are addressed. | Structural support rated for the full tank weight; leak containment or drainage; overflow routed to a safe location; access for inspection. | Check floor loading, installation clearances, service access, and protection against freezing where relevant. |
General guidance only: inlet and outlet sizes depend on flow rate, tank design, and system requirements. Confirm materials, backflow protection, installation, and safety details against the manufacturer’s instructions and applicable local codes.
How to Choose the Right Water Storage Tank?
Plan for Installation, Maintenance, and Water Quality
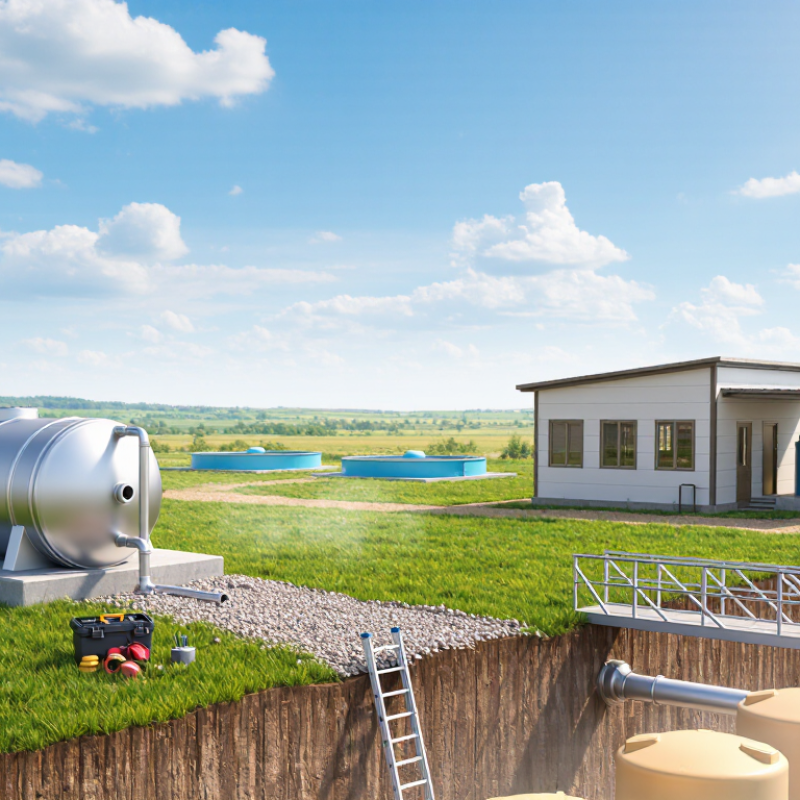
A tank should fit the site, not just the water demand. Measure the full footprint, including space for pipes, valves, and future repairs. A level, stable base helps prevent uneven loading, while a clear route for delivery can save costly adjustments. Access matters. Leave room to inspect the lid, drain, and connections without squeezing behind walls or equipment. Check that overflow water can drain away safely, especially near foundations. Sun exposure and temperature also affect placement and may influence the tank material you choose.
Maintenance is easier when the design allows regular checks. Look for cracks, loose fittings, leaks, and signs of corrosion or algae. Small details count. Keep lids secure and vents protected from insects and debris. For drinking water, choose materials intended for potable-water storage, and follow local guidance for installation and cleaning. Test water periodically, particularly after repairs, long periods without use, or changes in taste, color, or odor. Sediment can collect even in a well-maintained tank, so plan how it will be inspected and removed. Cleaning schedules vary with water source and use; a fixed calendar may not suit every household. Regular records help reveal changes before they become harder to explain.